Finally, a website!

Hello! Melissa here. . . I am not a techy person so getting this website up was crazy difficult! Now I know! I’m excited that it’s finally up and running so I can share recipes and information about mushrooms and microgreens.

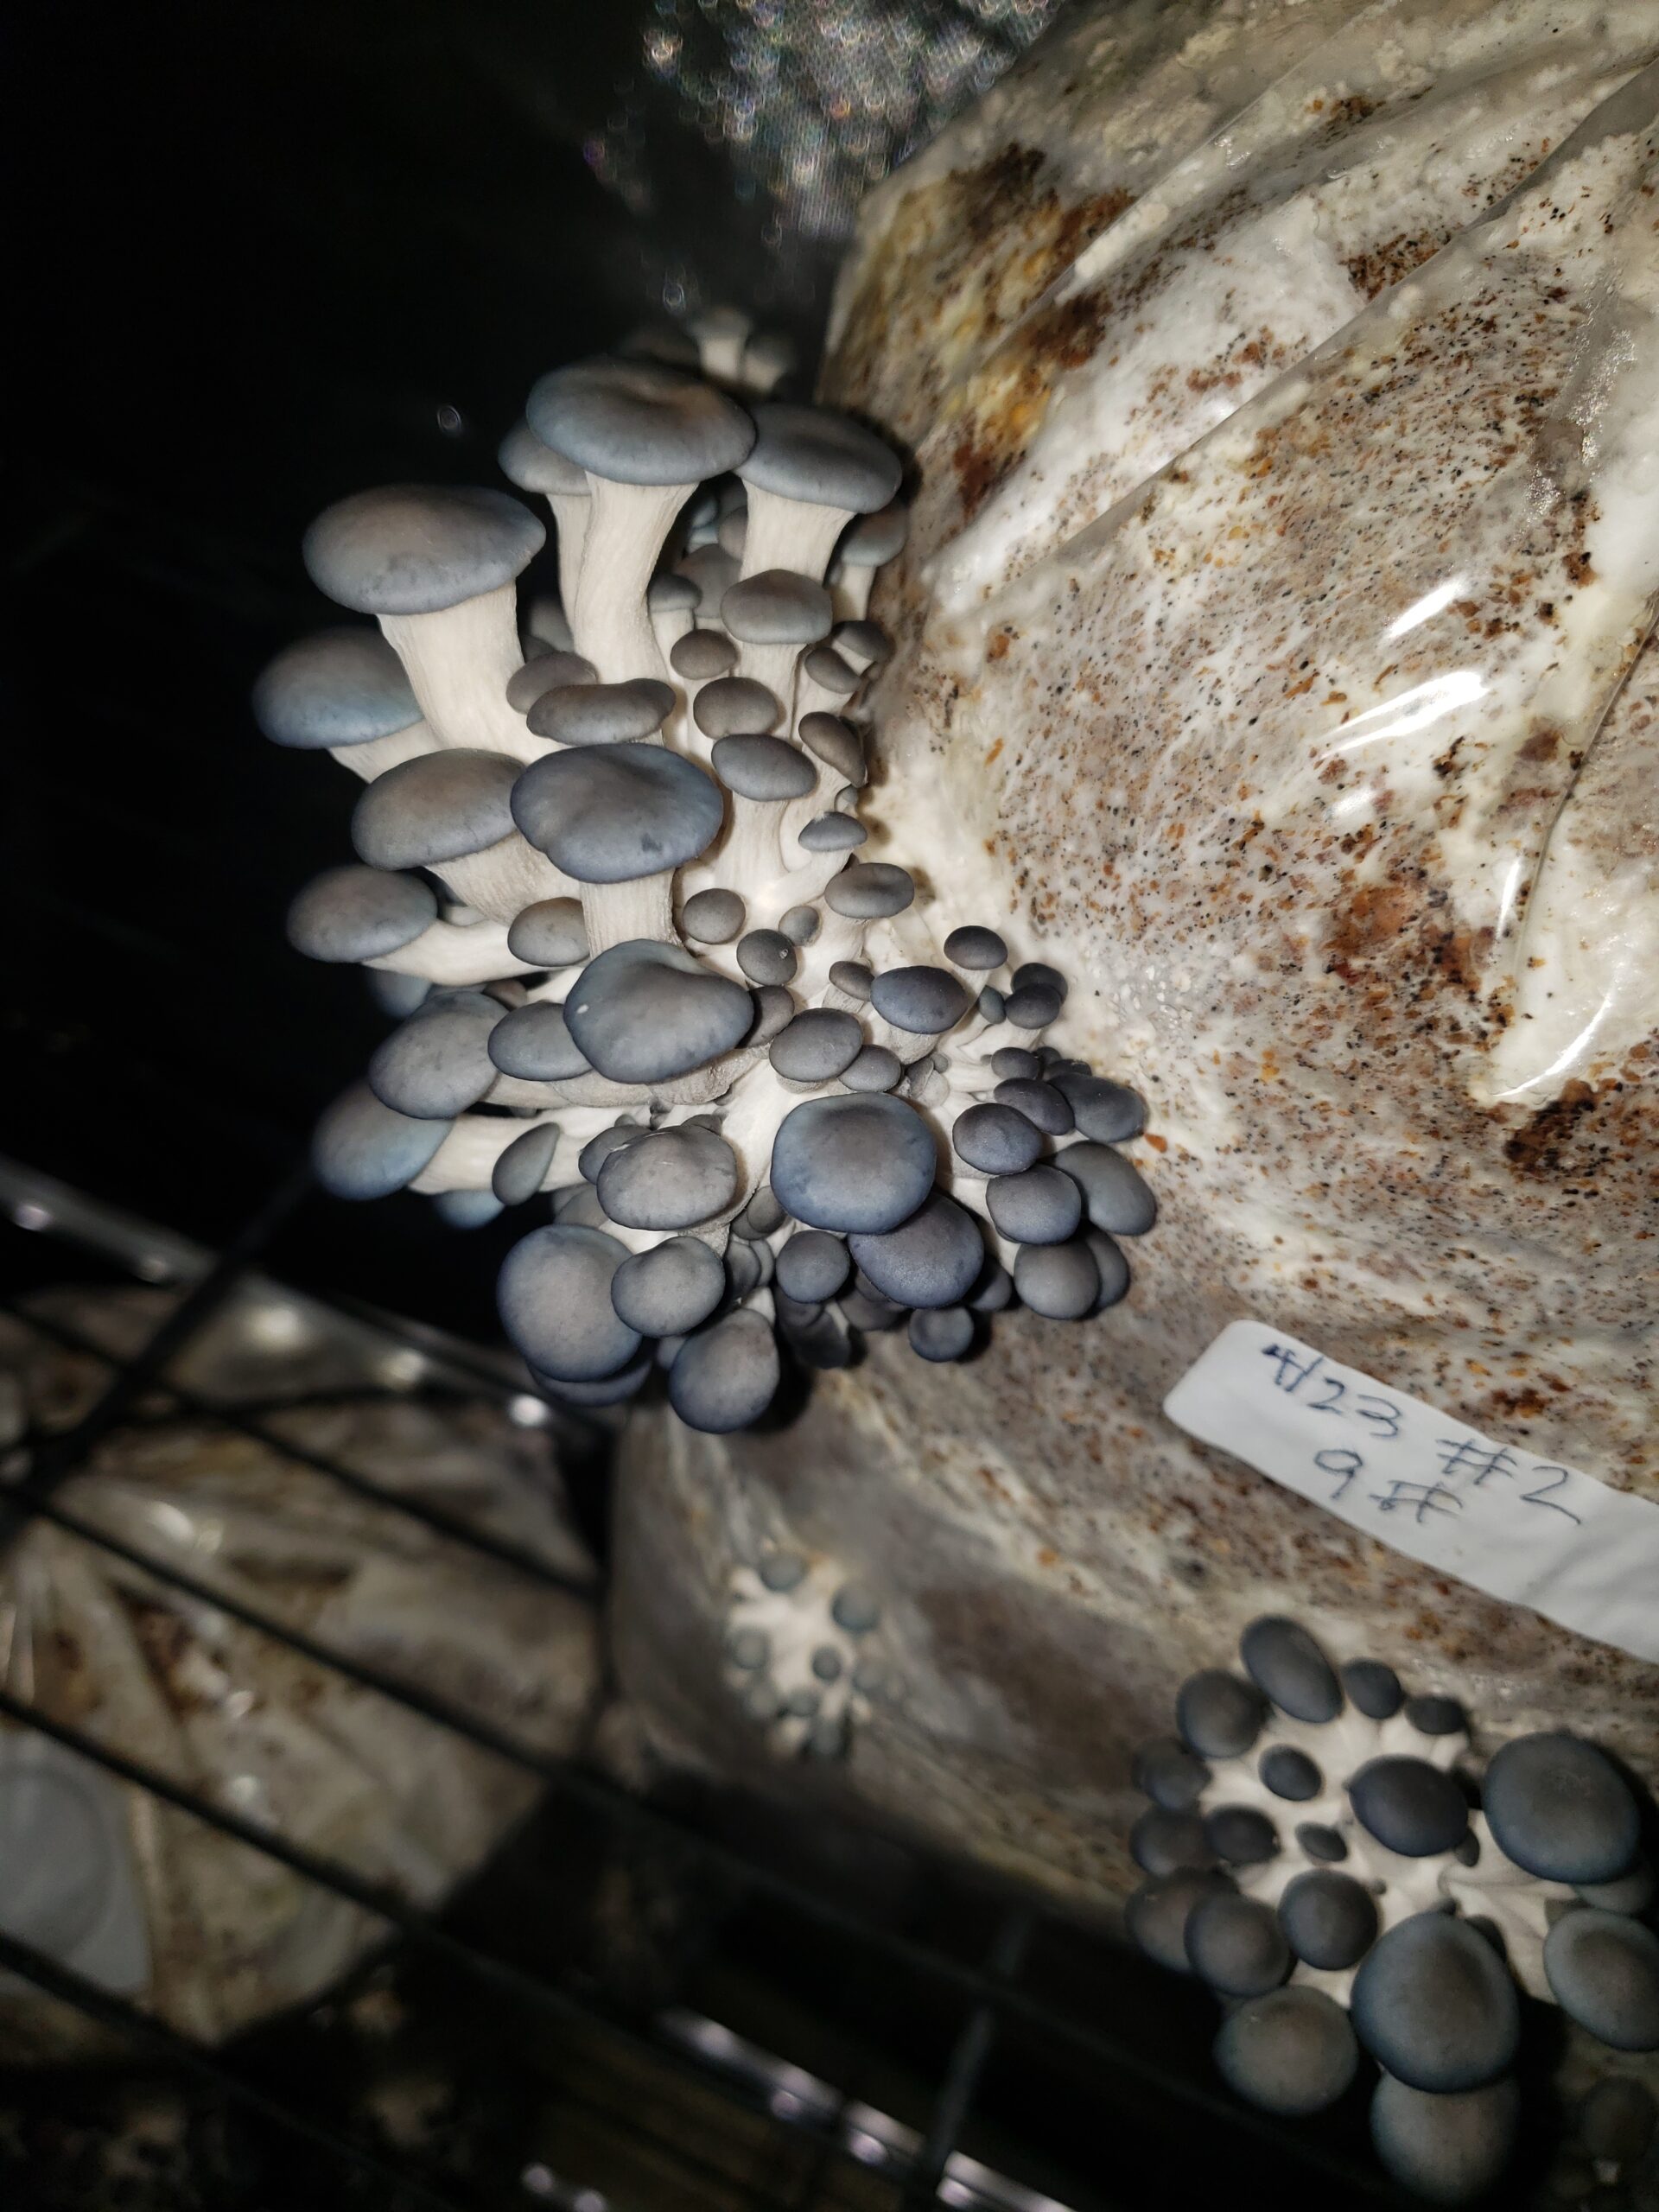
We are going to be growing Blue Oyster, Lions Mane and Maitake mushrooms this year. Last year we grew the oyster mushrooms to get the hang of growing them, there are alot of steps! I took a course so I could gain some real knowledge from mushroom farmers on the process.

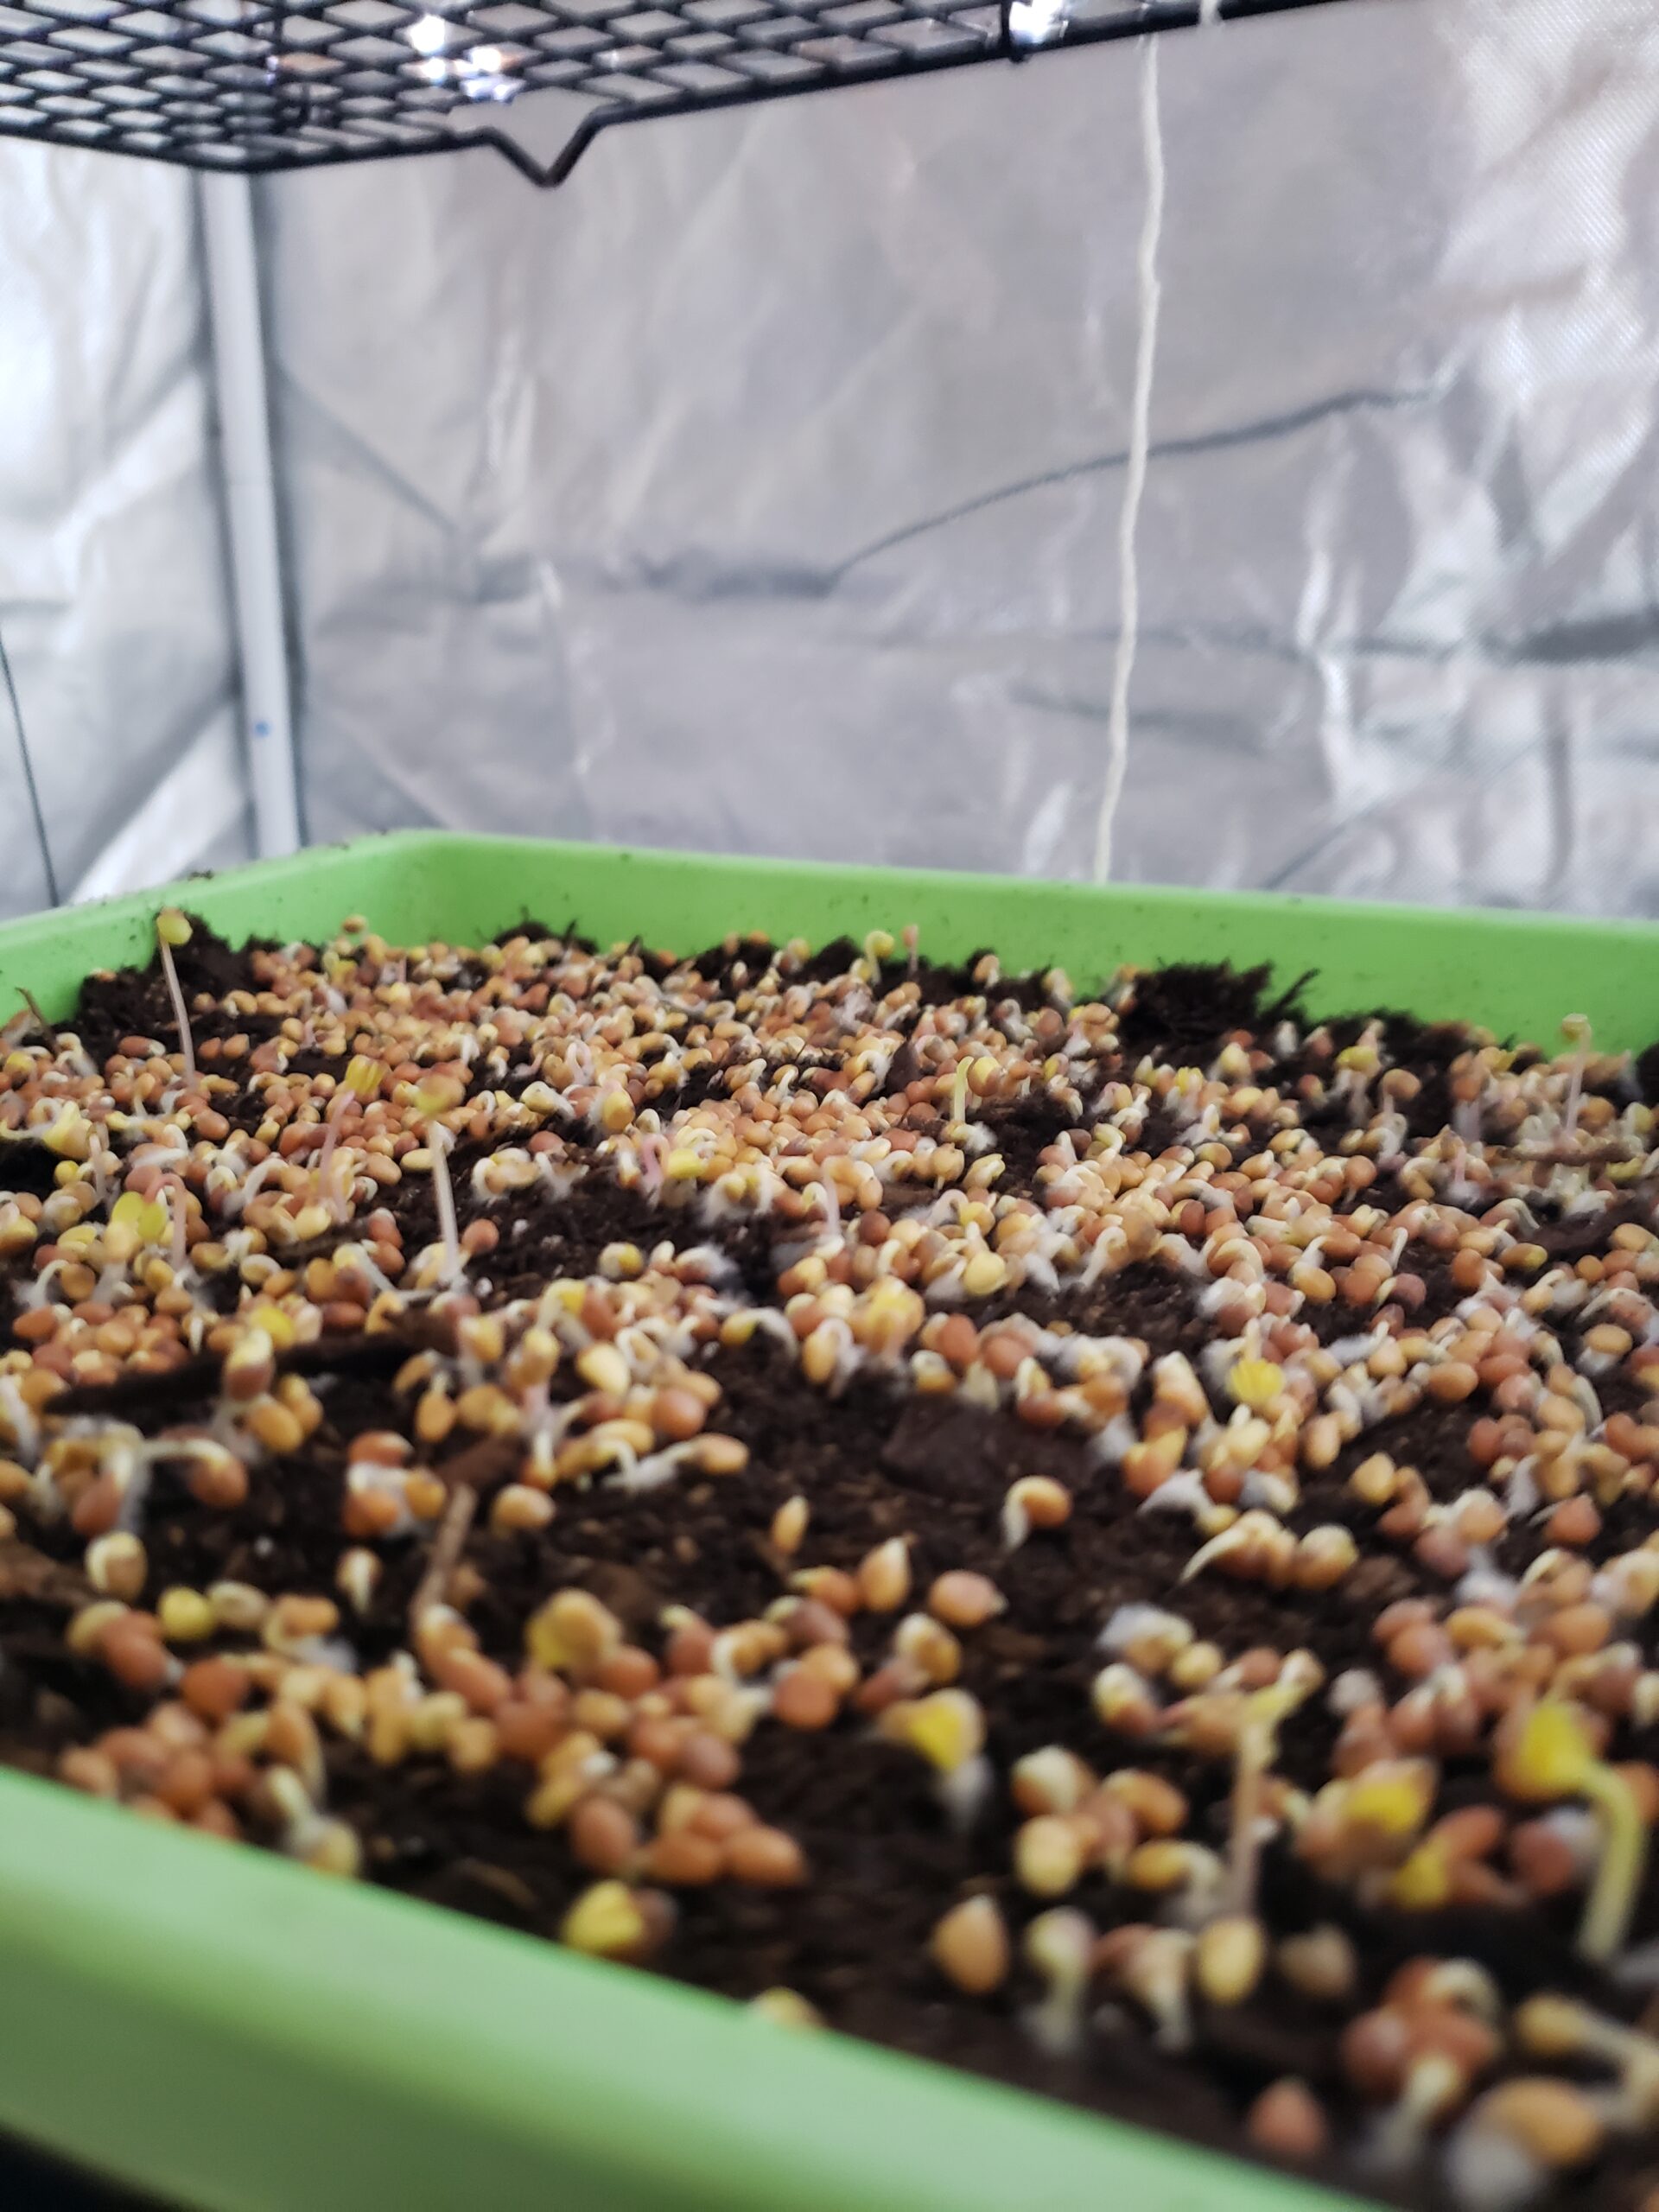
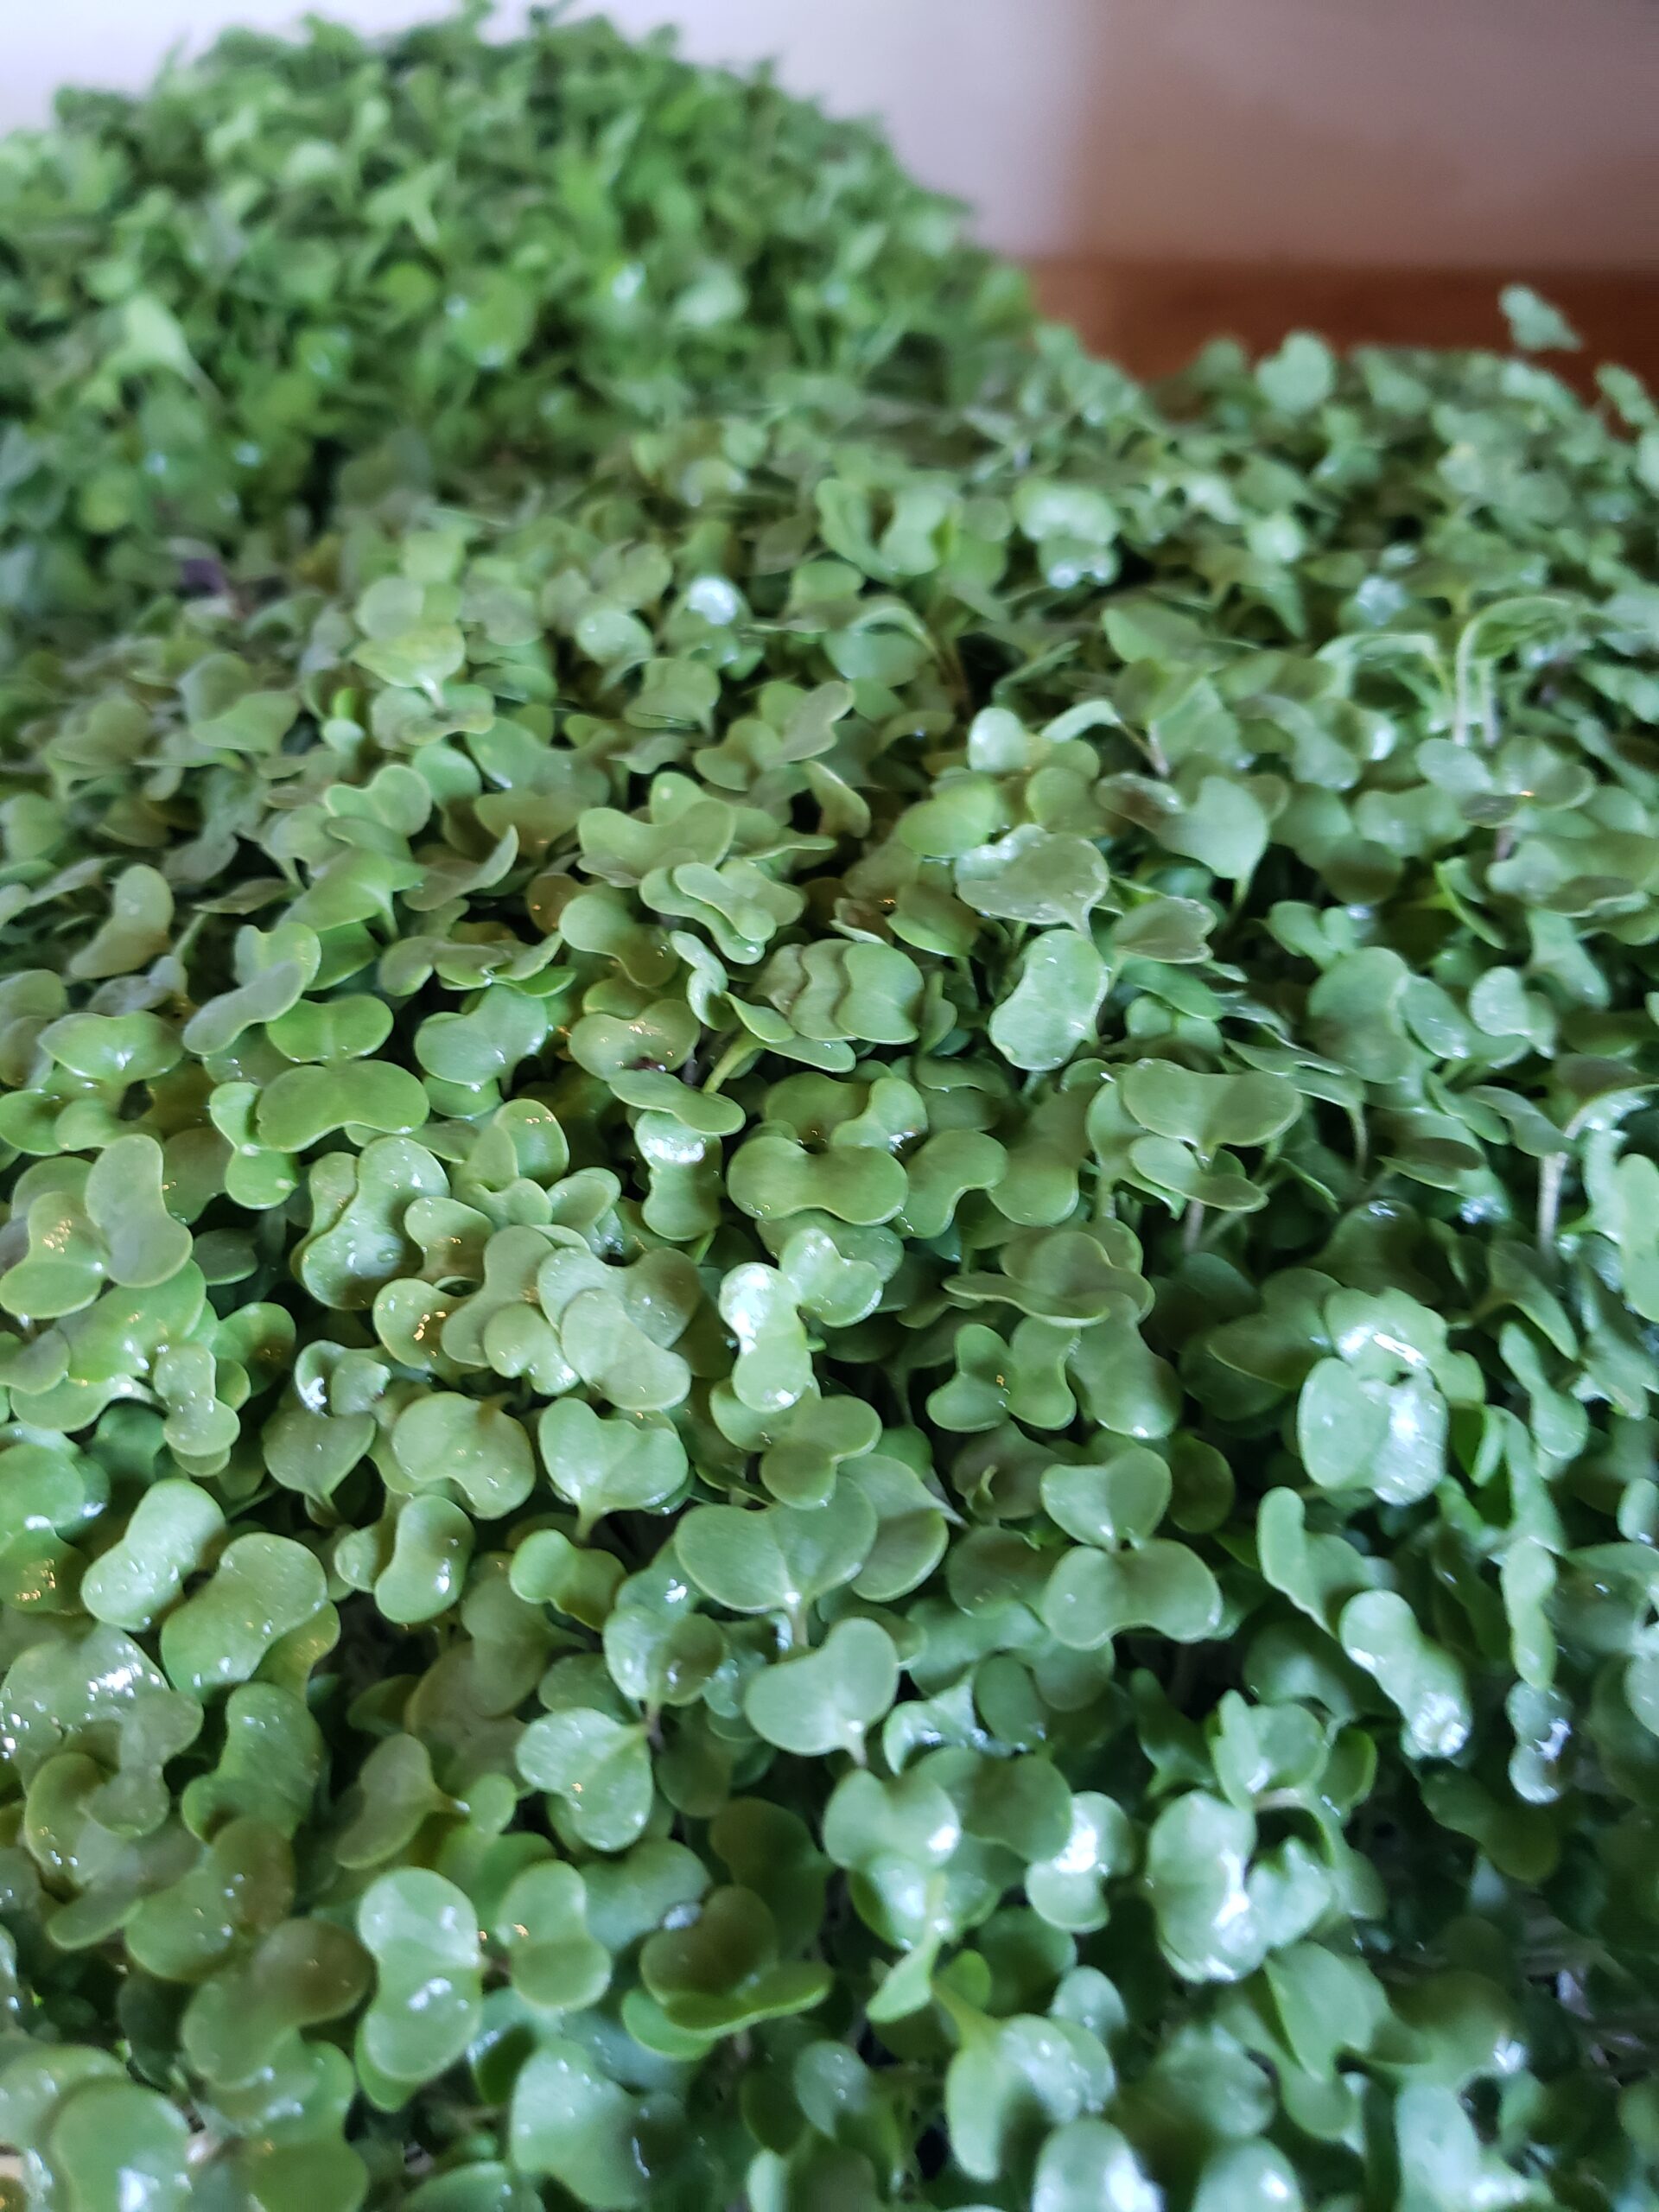
As far as microgreens we grow triple radish, broccoli trio, speckled pea and superfood varieties. I may expand on those or grow to order this year.

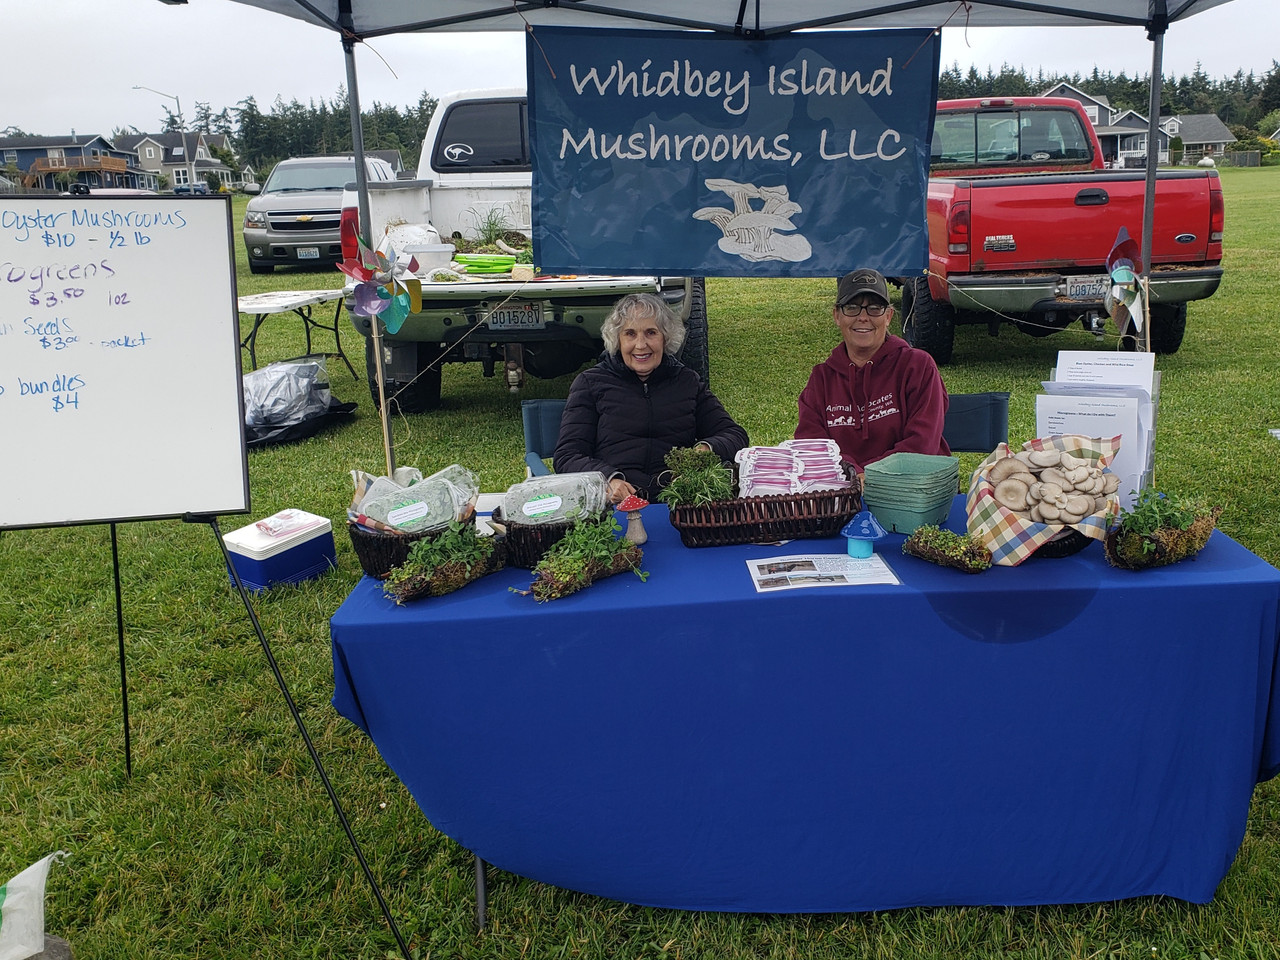
We are going to be at the Coupeville Farmers Market this year and our products will be at Whidbey Farm and Market, across from the Blue Fox drive in. I always welcome people to purchase directly from our farm as well by appointment.

Follow along with my mushroom journey and maybe try some new recipes!

More Than Just Mushrooms and Microgreens!

At Whidbey Island Mushrooms we offer more than mushrooms and microgreens! We also have eggs, seasonal produce, flowers and crafts. I am also a horse trainer- I offer riding lessons, horse camps and assorted horse classes, but that part is my other business called Willow Ranch. Willow Ranch has a website that will be up and running very soon which also includes a Farm Grandma blog. Check it out if sometime if those topics interest you!

Back to the mushroom farm! We have a small flock of chickens that provide eggs for our family and customers. Right now we have 19 hens and 1 rooster ( who is infertile, but he is a good protector). The flock gets spoiled quite often with snacks. One of their favorite snacks is corn followed by any flavor of microgreen. They get a large variety of veges and other food that provides them with extra nutrients producing beautiful orange yolks. Although egg prices are through the roof, we are maintaining the same price on Whidbey Island Grown food hub and on our farm stand, when we have some out there.

Some of the produce we usually have are Collards, Kale, and Rainbow Chard accompanied by herbs such as Rosemary, Thyme, and Pineapple Mint. Some seasonally grown produce includes Cherry Tomatoes, Bosc Pears, Plums, and Blackberries. We also grow Sunflowers, pumpkins and gourds.

This season we are hoping to expand the scope of vegetables and herbs that we offer with the addition of another greenhouse (although it’s not huge!). We should also be able to offer more vegetable, herb and flower starts to sell on the food hub and on our farmstand.

Whether you purchase our products on Whidbey Island Grown food hub or from our farm directly, we appreciate you and would love to hear from you!

December Plans

December this year will look a bit different for us. I am getting neck surgery in the middle of the month so growing and delivering mushrooms will be out of my physical ability. There will be a 2 week period where I also will not be growing microgreens. But, we will have some gifts on Whidbey Island Grown food hub.

Some of those items will be different horseshoe art that my husband, Dave, makes. There will be some horseshoe hanging racks, snowmen, moose, reindeer and a crab made of horseshoes that holds wine glasses in his claws. There will also be horsehead wreaths and other home decor made by me.

After December I will start to grow mushrooms again but they have about 2 weeks in a incubation tent and another 7 days in our grow tent before they are available again. We are going to be tripleling our mushroom production so we will have more available than previously. We will have Blue Oyster, Lion’s Mane, and upcoming are Maitake (Hen of the Woods) mushrooms. I may try another type of mushroom but I haven’t decided which one yet. If you have any requests I would love to hear them!

Thank you for hanging in there with us and Happy Holidays!

Friday Recipe - Potato Hash with Mushrooms

This is an easy dish that is very versitile – breakfast, lunch, or dinner would benefit from this side dish! Let’s get to it!

ingredients:

  • 1 Cup of Potatoes – large or small dice
  • Onion – 1 chopped
  • 1 Cup of sliced purple cabbage
  • 1 Cup of Blue Oyster mushrooms – chopped
  • 1/2 cup of whole cherry tomatoes
  • 1/3 cup of olive oil
  • 1 tsp. Salt and 1 tsp pepper
  • 1 tsp Thyme – fresh or dried
  • 1 tsp Rosemary – fresh or dried

In a large bowl add all of the ingredients and mix. You may add more salt, pepper and herbs to taste. Pour onto a baking sheet and spread it out evenly. Bake at 400 degrees for 25 to 30 minutes.

The baking time will vary depending on how big or small your potatoes are diced.

Feel free to use your imagination with the veges and different herbs and spices! Enjoy!

Growing New Types of Mushrooms and Microgreens

My vision for Whidbey Island Mushrooms is to grow many types of gourmet mushrooms, as many as possible. Right now we are growing Blue Oyster Mushrooms and are happy to announce Golden Oysters as an addition to our grow tents. We should have some available to purchase within a week, exciting! (They are so pretty!)

I have been working on growing Lion’s Mane and Maitake mushrooms but have hit some hurdles that I’m still trying to jump, more specifically – green mold, Trichoderma harzianum. It is ugly and can ruin a whole tent full of mushroom bags. It is present in all soils but if the mushrooms colonize quickly, they can take over the dreaded mold. Lions’s Mane and Maitake mushrooms are slower to colonize than Oyster mushrooms so their growing environment has to be more sterile. I don’t have the money to buy an autoclave so I sterilize my bags of substrate in our pressure cooker. I have also purchased a no air box to add my mushroom spawn to the sterile bag. Fingers crossed!!

We also have a new kind of microgreen we will be carrying. It’s calls “Sulforaphane Mix” . Sulforaphane is present in cruciferous vegetables such as broccoli, collards and kale. The benefits of sulforaphane can be found in this article – https://www.mdanderson.org/publications/focused-on-health/sulforaphane-benefits–how-leafy-veggies-like-broccoli-and-bruss.h13-1593780.html . There is also a very in depth article that also lists vegetables with sulforaphane that are in the cruciferous group that you can read here – https://www.ncbi.nlm.nih.gov/pmc/articles/PMC9017484 .

After reading those articles, and many more, I have decided to include these microgreens into our meals. Preventing cancer is just one of the many benefits cruciferous veges have and these benefits are magnified by eating microgreens of those veges! How convenient and delicious! After our first crop is harvested I will taste them and post a recipe, hopefully we can all enjoy them and reap their benefits.

Where to Find Our Shrooms and Greens

When we started Whidbey Island Mushrooms we came across a lot of hurdles, more than the typical challeges of starting a business. Shortly after start up my new piglet, Chuck, broke my foot, then my back went out and I had to have (another) back surgery. Along with trial and error of getting our grow tents at the right humidity, temperature and airflow we were gasping for air and ready to start sailing into to smooth seas! – It’s about time!

So, up until lately we have only had our products available at our home/business for purchase. Last year we did have microgreens at Whidbey Farm and Market (across from Blue Fox Drive in) which was wonderful! Now we are excited to announce we are vendors at the Coupeville Farmers Market and on the Whidbey Island Grown food Hub! We are also working on getting our farm stand up and running in front of our home! I am so excited to get this ball rolling, turning my vision into reality!

Microgreens - are they just a garnish?

Does it make you wonder what microgreens are for and what they can do for you? I always saw them as a garnish on a fancy plate of food, almost like a buzzword . . .” and the microgreens are atop of the” . . . ( and there are like 3 of them), so what’s the real deal?

Well, the first thing is they are actually really good for you. Really! A little serving of these cuties pack up to 40 % more nutrition than their adult selves! So if you don’t eat your veges as much as you should, you can add a small amount of microgreens to your diet to make up for it. Very convenient if you ask me.

They are actually easier to add into your diet than you would think. You can add them to grain bowls, sandwiches, salads, avocado toast, and if you really don’t want to taste them, smoothies! Of course using them as a garnish is still fun, pretty and tasty!

I think a great way to figure out where you would use microgreens is to try them. Take a pinch of greens, pop them in your mouth and decide if you like them, where you think they would add flavor or color and add them to your dish. Experiment, try different greens in different dishes! Have fun with them!

I will be posting recipes so if you’re having a hard time deciding with where they can be added, these can help you utilize them to their fullest deliciousness!

How do you grow mushrooms? 101

Growing mushrooms is an awesome process! They go from spawn to mycelium to mushrooms in a realatively short amount of time in a grow tent. This is a quick version of that method!

First you pick which type of mushroom you want to grow. Then, find some spawn to purchase for that strain. There are places online to find spawn to aquire, I use North Spore and Cascadia Mushrooms but it’s good to look around.

You then add the spawn to a substrate – kind of a happy home where the spawn can grow into mycelium. I do this in mushroom “unicorn” bags, but it can also be done in buckets. Myclelium is the root system for mushrooms and they have specific needs depending on the mushroom type.

Growing the mycelium happens in an incubation tent where the temperature, air exchange and humidity are just right for mycelium to grow. If you think about mushrooms in the ” wild” their root system would not have any light, the warmth and dampness would help them mature.

Once the mycelium has matured the bags are placed into the fruiting tent. This tent has more airflow, more light and more humidity than the incubation tent. Usually in 3 to 7 days the bags start pinning – this is where tiny mushrooms appear. They grow into mature mushrooms pretty quickly so it’s important to watch them until it’s time to harvest, if they go too long they aren’t as pretty, I’m sure they taste the same but we eat with our eyes, right?

It’s a magical transformation for me to watch everytime! I get excited with every “flush” that I harvest!